Home / Septic Tanks / Piranha Septic Tank
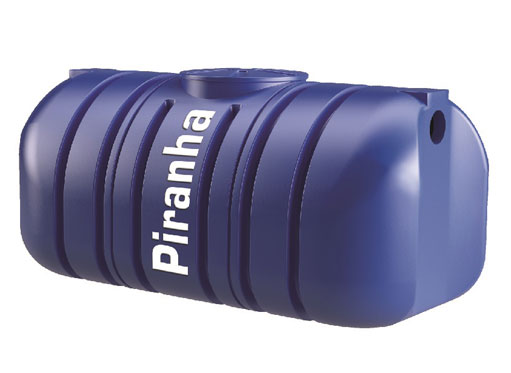
Piranha Septic Tank
Features
- Piranha Tanks have Anti Floating Design by which even in water-logged places the tank won’t float. Special Installation Procedure for water lodged places.
- Economical model.
- Piranha tanks have a maximum capacity of 1000 litres.
- Piranha tanks are made of special materials having high strength.
- Special Installation Procedure for water lodged places.
- Piranha tanks provide 15 years Replacement Guarantee.
- Developed and designed through advance research by Central Institute of Plastic Engineering and Technology, Govt. of India.
- The product is certified through the testing of factors such as Structural Strength, Tensile Strength using Anzis Software by Dr B. Biju (M.Tech, PhD), M.A. College of Engineering, Kothamangalam.
- Piranha Tanks are bigger than those tanks with the same flushing capacity. This helps in having more span of cleaning interval than others.
- Piranha Tanks have a Patented design.
Fixing Instructions
-
Step 1 : Digging a Pit.
For 50 Flush Tanks , it is recommended to dig a pit in the range of 5 to 7 feet deep , measuring 9.5 feet in length and 5.75 feet in breadth.
-
NOTE : The depth of the pit may vary according to the specifications of your place and the position of the Inlet pipe. For water-lodged places, the depth of the pit should be taken least.For example The regatta 50 flush tank depth is 5 feet.
-
Step 2 : Composition of the Pit.
The pit should be compiled with ½ feet either Sand, M Sand or Crusher dust.
-
Step 3 : Fixing the tank in the pit.
After fixing the tank, the tank should be rotated in clockwise and anti-clockwise directions to ensure that the tank is firmly attached to the pit.
-
Step 4 : Composing the Mixture.
Into 10 litres of water, add cow dung in the amounts to ¼ of that of the water.
-
Step 5 : Filling the tank with water.
Fill the tank with water through the Inlet Pipe until water comes out through the Outlet Pipe.
-
Step 6 : Fixing the rest of the Components
Fix the Inlet Pipe, Outlet Pipe and Air Vent.
-
Step 7: Final Fixation of the tank
Fill soil around the tank around the tank about 1 feet thickness. Fix the soil firmly to the ground. Before covering the pit, again follow the step of covering soil around the tank in all four corners about 1 feet thick.
Available Sizes
| Flush/Day | Length | Breadth | Height | Capacity |
|---|---|---|---|---|
| 15 | 156 cm | 83 cm | 75 cm | 750 ltr |
| 25 | 186 cm | 95 cm | 84 cm | 1000 ltr |
| 35 | 218 cm | 112 cm | 94 cm | 1500 ltr |